

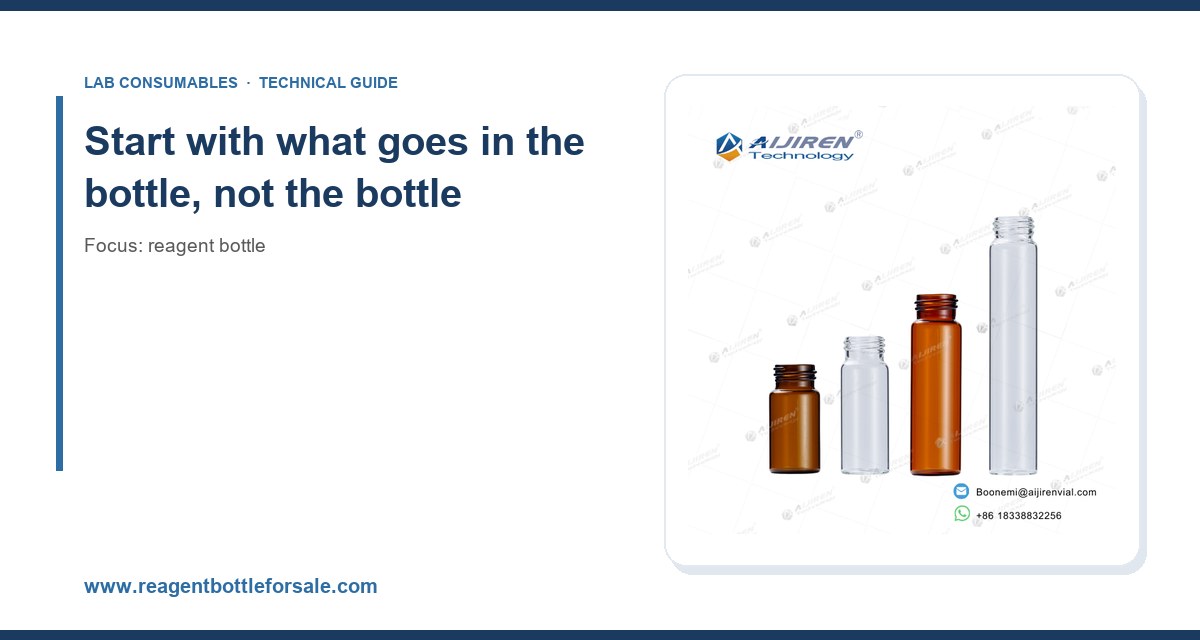
I still remember a Monday morning when a postdoc walked into my office holding a borosilicate bottle with a hairline crack running from the shoulder to the base. It had held 2.5 L of concentrated sulfuric acid for six weeks. The crack started at a molded seam that should not have been there. We traced it to a batch of “economy” bottles bought on price alone, with no ASTM E438 Type I certification and no lot traceability. That bottle cost us about $4. It nearly cost us a fume hood, a floor finish, and a very uncomfortable incident report. This guide is what I wish I had handed that postdoc before the purchase order went out.
Reagent bottles look interchangeable. They are not. Glass type, annealing quality, neck finish, cap liner chemistry, graduations, and the way a bottle behaves under autoclaving or vacuum all change what you can safely do with it. Below I walk through the selection criteria I actually use, the failure modes I have seen in 15 years of running a consumables operation, and the numbers that matter when you are writing a spec or checking a delivery.
The first question is never “which bottle?” It is “what is the chemistry, the temperature cycle, and the light exposure?” Get those three answers and half the catalog eliminates itself.
Glass type and why USP and ASTM matter
Most lab reagent bottles are made from one of three glasses. Know which one you are buying:
- Type I borosilicate (ASTM E438 Type I, ISO 3585): low alkali release, suitable for parenteral and trace-metal-sensitive work. Expansion coefficient around 3.3 × 10⁻⁶ /°C. This is what you want for HPLC mobile phases, standards, and anything headed for trace analysis.
- Type II treated soda-lime: soda-lime glass with a dealkalized inner surface. Cheaper, adequate for many general reagents, but the surface layer can be depleted by repeated hot caustic washing.
- Type III soda-lime: general purpose, higher alkali leaching. Fine for buffers and non-critical solutions, not for ICP-MS standards or cell culture media.
If your SOP references USP <661> or you are storing reference standards, insist on Type I and ask for the certificate of analysis. A supplier who cannot produce a glass type certificate is telling you something.
Plastic where glass is wrong
Glass is not always the answer. Hydrofluoric acid, hot concentrated alkali, and trace sodium analysis all argue for plastic. HDPE and PP bottles are the workhorses here. PP handles autoclaving at 121 °C without deformation; HDPE softens around 80 to 90 °C and should not be autoclaved. PTFE (PFA) is the choice for ultra-trace work and HF, at a price that will make your procurement manager wince, but it is the only material I trust for sub-ppb sodium and for storing concentrated HF at room temperature.
Volume, shape, and the neck finish you will regret ignoring
Buying the wrong volume is a minor annoyance. Buying the wrong neck finish is a slow operational tax you pay every time someone changes a cap.
GPI and ISO neck finishes
Most reagent bottles use a GL thread (ISO 4796) or a GPI finish (Glass Packaging Institute). The common sizes you will meet:
- GL 25: small bottles, 100 to 250 mL, common on HPLC solvent bottles and media bottles.
- GL 32: 500 mL to 1 L media and reagent bottles.
- GL 45: 1 to 5 L, the default for laboratory solvent bottles and the standard for most bottle-top dispensers and caps with tubing ports.
- GPI 24-400 and GPI 38-430: the US equivalent thread standards, common on EPA-method sample containers.
Standardize on one or two finishes across a lab. I have watched a team lose two hours because a new case of 1 L bottles arrived with GL 32 threads and every cap, dispenser, and drying rack in the room was GL 45. The bottles were fine. The workflow was not.
Graduations, pouring rings, and caps
Graduated bottles are convenient for rough volumes but are not volumetric. A 1 L graduated bottle is accurate to maybe ±5%, sometimes worse. Do not use it to make standards. For anything requiring better than 1% you need a volumetric flask and a proper reagent bottle for storage afterward.
Pouring rings and drip-free lips are worth the small upcharge. A bottle that dribbles down the outside during every pour will contaminate your bench, your gloves, and eventually your sample.
Cap liners: the part that actually fails
I have seen more contamination events traced to cap liners than to bottle glass. The liner is the seal, and it is the part most buyers ignore.
Liner material selection
- PTFE-faced silicone: the general-purpose default. Good chemical resistance, reseals after puncture, works from about −40 to 200 °C. Use for most aqueous and organic solvents.
- Pure PTFE: best chemical resistance, poor resealing after puncture, prone to cold flow under torque. Use when nothing else survives.
- Butyl rubber: excellent for gases and volatile solvents, poor for ketones and chlorinated solvents.
- Silicone: good for low-temperature work, swells badly with nonpolar solvents.
- PE foam or foil: single-use, cheap, no reseal. Fine for shipping, not for repeated opening.
If you are storing HPLC-grade acetonitrile or methanol, PTFE-faced silicone is the safe default. If you are storing dichloromethane, check the liner compatibility chart on the supplier’s site, because some silicone liners will swell and fail within a week. The consumables teams at Thermo Fisher and Agilent publish liner compatibility tables that are worth bookmarking.
Torque and closure integrity
Caps are not meant to be torqued to the limit of your wrist. For a GL 45 cap with a PTFE-faced silicone liner, 1.5 to 2.0 N·m is the sweet spot. Higher torque cold-flows the PTFE and creates a leak path that only shows up after a freeze-thaw cycle. Lower torque leaves the seal uncompressed. A calibrated torque wrench on the filling line is not overkill if you fill more than a few dozen bottles a day.
Temperature, pressure, and the autoclave question
Reagent bottles are frequently autoclaved, and this is where cheap bottles fail. Borosilicate Type I survives 121 °C at 15 psi for 20 to 30 minutes without issue, provided the bottle is vented and the cap is loosened. Soda-lime bottles, especially thick-walled ones, are more prone to thermal shock and stress cracking.
Three rules I enforce:
- Loosen the cap at least a quarter turn before autoclaving. A sealed bottle pressurized at 15 psi is a bomb, and I have replaced more than one autoclave door gasket because of it.
- Never autoclave a bottle that has been dropped, even if it looks intact. Microcracks propagate under pressure.
- Do not autoclave HDPE bottles unless the manufacturer rates them for it. Most do not.
Vacuum filtration bottles are a separate class. They need heavy-wall construction and a rated vacuum, typically −90 kPa or better. Do not improvise with a thin-walled reagent bottle and a stopper, no matter how many times someone on YouTube does it.
Light protection and the amber question
Amber glass blocks most of the UV and visible spectrum below about 500 nm. If you are storing photosensitive reagents (silver nitrate, vitamin standards, some antibiotics, most HPLC standards that come with a “protect from light” warning), amber is the right answer. The cheaper alternative is a clear bottle wrapped in foil, which works but looks unprofessional and hides the liquid level. Amber borosilicate is not much more expensive and removes a variable.
One caveat: amber glass is often soda-lime, not borosilicate. If you need both light protection and Type I glass, verify the specification. “Amber” alone tells you nothing about the glass chemistry.
A decision checklist with concrete numbers
Here is the checklist I use when specifying a bottle for a new method. If you cannot answer a row, you are not ready to buy.
- Chemistry: aqueous, organic, acid, base, or HF? HF goes in PFA or PP, never glass.
- Glass type: Type I borosilicate for trace work and standards; Type III acceptable for general buffers.
- Volume: 100 to 250 mL for bench use, 500 mL to 1 L for mobile phase, 2.5 to 4 L for bulk solvent. Match to your dispenser.
- Neck finish: GL 45 for solvent bottles and dispensers; GL 32 or GL 25 for smaller media; GPI 24-400 for EPA-method containers.
- Liner: PTFE-faced silicone as default; butyl for gases; pure PTFE for aggressive solvents.
- Temperature range: verify autoclave rating at 121 °C if applicable; HDPE only to 80 °C.
- Light: amber if the reagent is photosensitive; otherwise clear.
- Traceability: lot number, glass type certificate, and ASTM E438 or ISO 3585 reference on the label.
- Torque spec: 1.5 to 2.0 N·m for GL 45 with PTFE-faced liner; document it in the SOP.
If you are also buying autosampler vials to go with the standards you store in these bottles, keep the same discipline. A 2 mL HPLC autosampler vial with a poorly matched septa will give you the same class of failure as a bad cap liner, just at smaller scale.
Where reagent bottles sit in a chromatography workflow
In an analytical lab, the reagent bottle is the upstream end of the sample chain. Mobile phase lives in a 1 L GL 45 bottle with a PTFE-faced cap and a solvent inlet filter. Standards are made in volumetric glassware and stored in Type I amber bottles. The sample itself travels in a sample vial into the autosampler. Each link has its own contamination risks, and the bottle is where they start.
Two failure modes I see repeatedly:
- Mobile phase outgassing. A bottle that is not degassed, or that is stored with the cap tight and then opened, will outgas in the HPLC line and produce baseline drift. Use a sparging setup or helium sparge, and keep the bottle headspace small.
- Carryover from bottle to bottle. If your washing SOP does not include a Type I rinse and a final HPLC-grade water rinse, you will see ghost peaks in the blank. I have chased a 0.3 min ghost peak for two days before finding it came from a detergent residue in a “clean” bottle.
For method development work tied to regulatory methods, keep the U.S. EPA SW-846 test methods handy. They specify container type and preservation for many matrices, and the container requirements are not negotiable if the data is going into a regulatory report. Restek also publishes application notes that spell out the container and handling details for specific analytes, which is faster than reading the method from scratch.
If you are building out a full consumables list, the broader catalog of chromatography products is the place to cross-check that your bottle, vial, septa, and filter choices are consistent across the method.
Troubleshooting checklist for bottles already in service
When something goes wrong, work through this list in order. It saves time.
Leaks
- Check torque first. Under-torque is more common than over-torque, but both cause leaks.
- Inspect the liner for cold flow, swelling, or a puncture that did not reseal.
- Check the bottle rim for chips. A chipped rim will never seal, no matter what you do.
- Verify the cap and bottle are the same thread standard. GL 45 and GPI 38-430 are not interchangeable despite looking similar.
Contamination and ghost peaks
- Run a blank from a new, unopened bottle of the same lot.
- Check the wash SOP. Detergent residue is the most common source.
- Check the cap liner. Some liners leach plasticizers into organic solvents.
- Check storage time. A mobile phase bottle left on the bench for two weeks is a different chemical than the one you made.
Cracking and breakage
- Look for a molded seam. A seam means the bottle was not properly formed.
- Check for thermal shock history. A bottle that went from a 4 °C fridge to a 60 °C water bath will crack.
- Check the annealing. Cheap bottles are often poorly annealed, and residual stress shows up as cracks radiating from the base.
What I recommend, and what I avoid
For a general analytical lab, here is the short version.
Buy: Type I borosilicate, GL 45, 1 L and 2.5 L, with PTFE-faced silicone liners and a proper pouring ring. Amber versions for photosensitive standards. A small stock of PFA bottles for HF and trace sodium work. A calibrated torque wrench for the filling line.
Avoid: Unbranded “economy” bottles with no glass type certificate. Mixed neck finishes across a single lab. Reusing single-use liners. Autoclaving sealed bottles. Storing concentrated alkali in glass for more than a few days.
The price difference between a certified Type I bottle and an uncertified one is usually under $10 per unit. The difference in failure rate is not close. Buy the certified bottle, put the lot number in your records, and move on to the actual analysis.
If you take one thing from this guide, take the checklist. Answer the nine rows before you write the PO. The bottle is a small line item, but it is the first container your sample touches, and the last place you want to discover a problem is in the blank.
References & further reading
Related resources from our lab consumables network:
- Reagent Bottle at reagentbottleforsale.com
- Hplc Autosampler Vial at hplcautosamplervials.com
- Sample Vial at samplevialprice.com
- Chromatography Products at chromatographyselling.com
External references and standards: