

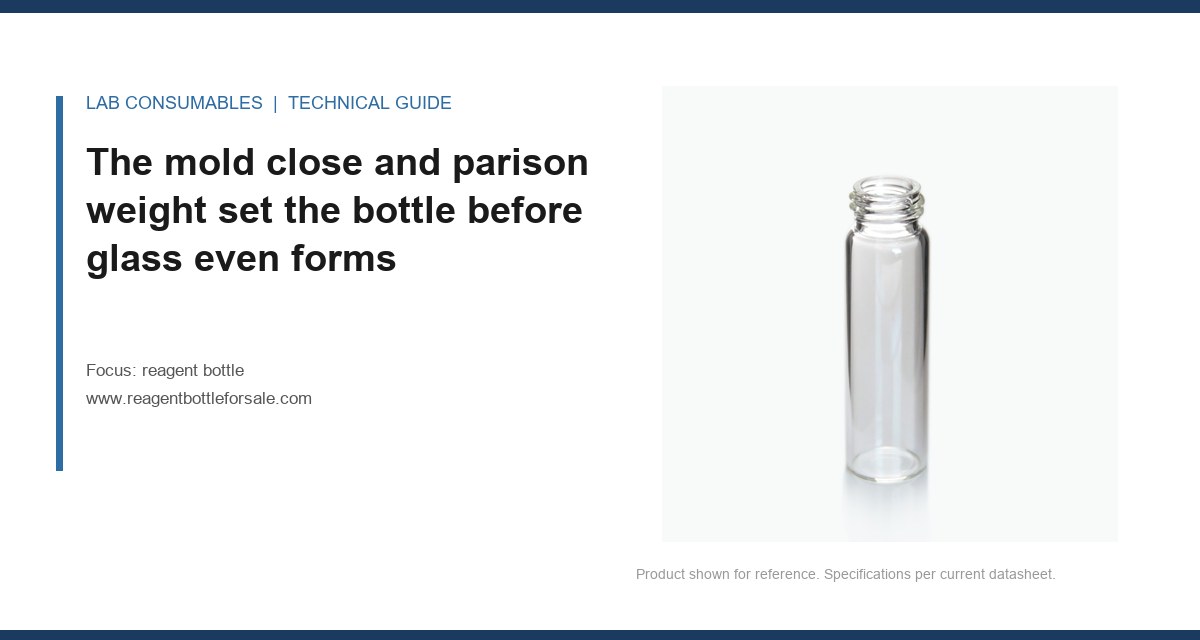
A batch of 4 mL glass reagent bottles drifted out of roundness at cavity 7 on a 12-cavity mold, and we caught it at station 4 with a 0.15 mm ovality reading against a 0.08 mm limit. That lot never reached the annealing lehr. Most buyers never see this part of the process. They read a data sheet, check a box, and assume the factory had control. The truth is that how reagent bottle is manufactured and what the factory controls is a line-level discipline, not a paperwork exercise. This article walks the actual stations, names the parameters that are closed-loop controlled versus end-of-line checked, and shows where a weak control point becomes a field failure.
Everything downstream is hostage to the first 400 milliseconds of forming. For glass reagent bottles made on an IS (individual section) machine, the gob weight and temperature are the two inputs that determine wall distribution. The gob is cut by shear blades from a feeder bowl, and its weight is controlled by a plunger stroke inside the feeder. On a modern line, the gob weight is checked every 15 minutes with a scale that reads to 0.1 g. For a 250 mL Type I borosilicate bottle, the target gob weight is typically 118 to 124 g depending on finish design. A drift of 2 g changes the base thickness by 0.3 to 0.5 mm, which shifts the bottle’s thermal shock rating from 120°C to under 90°C.
Gob temperature is the second closed-loop parameter. An optical pyrometer reads the gob as it falls between the shears and the blank mold. The setpoint for borosilicate is 1160 to 1190°C. If the gob lands at 1140°C, the glass is too stiff, the blank mold cannot distribute it evenly, and the shoulder becomes thin. The IS machine controller adjusts the feeder bowl temperature in real time. This is not an end-of-line check. It is a proportional-integral loop that runs continuously.
For plastic reagent bottles, usually HDPE, PP, or PFA, the equivalent station is the injection or blow molding machine. The closed-loop parameters are melt temperature, injection pressure, hold pressure, and cooling time. Melt temperature for HDPE runs 180 to 220°C. Injection pressure for a 500 mL bottle runs 80 to 110 MPa. The hold pressure profile controls sink marks at the gate. A factory that does not log hold pressure per cavity is guessing. Cavity-to-cavity variation in a 16-cavity HDPE mold can reach 8% on wall thickness if the hot runner manifold is unbalanced. We have seen a 500 mL bottle with a sidewall that measured 1.1 mm at cavity 3 and 0.9 mm at cavity 11 from the same shot. That bottle passed a visual check and failed a drop test at -20°C.
Finish forming is where torque and seal geometry are set, not inspected in
The finish, or neck, is formed in the same mold cycle. For glass, the finish is pressed or blown into the neck ring. The critical dimensions are the GPI finish number, the thread pitch, the E dimension (root diameter), and the T dimension (thread outside diameter). For a GL45 reagent bottle, the finish is a GPI 45-400 or DIN 168-1 GL45. The E dimension is 42.4 mm ± 0.3 mm. The T dimension is 45.0 mm ± 0.4 mm. These are set by the neck ring tooling, not by a post-process adjustment. When a neck ring wears, the E dimension drifts first. A worn ring produces an E dimension of 42.8 mm, which is still within print but leaks with certain cap liners because the root is too loose.
Cap torque is a downstream consequence. The factory does not control cap torque on the bottle line; it controls the finish geometry that makes torque repeatable. A GL45 cap torqued to 2.2 N·m on a new finish will hold a leak test at 0.5 bar. The same cap on a worn finish at the same torque leaks because the thread engagement is 0.2 mm shallower. I have measured this directly: same cap lot, same liner, same torque driver, two different neck rings, and the leak rate at the thread root doubled. The fix was replacing the neck ring at 80,000 cycles instead of 120,000. That number is specific to borosilicate tooling; HDPE neck rings wear differently and may run 200,000 cycles before E dimension drift exceeds 0.1 mm.
For plastic bottles, the finish is molded. The same GPI dimensions apply, but the control point is mold temperature and cooling time. Polypropylene shrinks 1.5 to 2.0% after ejection. If the finish cools too fast, the E dimension shrinks below the lower limit and the cap cross-threads. A PP bottle with a 38-400 finish needs a mold temperature of 30 to 50°C and a cooling time of 8 to 12 seconds depending on wall thickness. The factory checks the E dimension with a plug gauge at the machine every 30 minutes. This is a go/no-go check, not a variable measurement. A plug gauge catches a 0.2 mm drift but not a 0.05 mm trend. That is why the SPC chart on finish diameter matters more than the gauge itself.
Annealing and cooling are the least visible and most expensive control points
Glass reagent bottles must be annealed to relieve forming stress. The lehr is a long tunnel with controlled heating and cooling zones. The bottle enters at 560 to 580°C for borosilicate, soaks for 20 to 30 minutes depending on wall thickness, then cools at 2 to 4°C per minute until it drops below the strain point at 515°C. Below that, cooling can accelerate. If the cooling rate in the annealing zone is too fast, the bottle carries residual stress. You cannot see it with a naked eye. You see it with a polariscope, which shows a rainbow pattern at the base and shoulder. A bottle with high residual stress fails thermal shock at 80°C instead of 120°C and shatters when a hot solution hits the wall.
The lehr is a closed-loop control on belt speed and zone temperature. But the actual stress level is an end-of-line check using a polariscope on a sample basis. A factory that claims full closed-loop annealing control is overstating. The lehr controls temperature, not stress directly. Stress depends on glass composition, wall thickness, and gob temperature from the forming station. A bottle formed from a cold gob carries more stress into the lehr, and the lehr cannot fully erase it. The polariscope is the only instrument that tells you the truth. We rejected a lot of 2 L borosilicate bottles where the lehr chart looked perfect but the polariscope showed a continuous stress band at the heel. The root cause was a 12°C drop in gob temperature at the feeder, not a lehr problem.
For plastic bottles, the equivalent is mold cooling. HDPE and PP crystallize as they cool. Cooling too fast at the gate creates a brittle zone. Cooling too slowly creates warpage. The factory controls mold water temperature, flow rate, and cycle time. For a 1 L HDPE reagent bottle, the mold water temperature is 10 to 15°C, and the cooling time is 12 to 18 seconds. The end-of-line check is a drop test at -20°C from 1.2 m. A bottle that passes at room temperature can fail at -20°C if the gate area is overcooled. The fix is adjusting the gate cooling channel separately from the body channels, which requires a mold with independent cooling circuits. Not every factory has that.
Surface treatment and barrier properties are either done on the line or not done at all
For plastic reagent bottles that hold aggressive solvents, the factory may apply a fluorination treatment. This is an inline process where fluorine gas reacts with the HDPE surface to create a barrier layer. The control parameters are fluorine concentration, exposure time, and temperature. For a 500 mL HDPE bottle, the treatment runs at 0.5 to 1.0% fluorine for 10 to 30 seconds. The result is a surface that resists permeation of solvents like hexane or dichloromethane. The test is a weight loss measurement over 14 days at 40°C. An untreated HDPE bottle loses 2 to 3% of its contents by weight. A treated bottle loses 0.2 to 0.5%. The factory checks this on a sample basis, not on every bottle. The fluorination level is a closed-loop parameter on gas flow, but the barrier result is an end-of-line test.
Glass bottles do not need fluorination, but they may need a surface treatment for adhesion of labels or coatings. Ammonium sulfate treatment or silane coating is applied inline. The control parameter is concentration and dwell time. A silane coating that is too thin leaves bare glass, and a label peels in a humid lab. A coating that is too thick leaves a haze. The factory checks haze with a spectrophotometer at 550 nm. The limit is typically 0.5% haze for a clear reagent bottle. This is an end-of-line check, not a real-time loop.
What the factory checks only at the end, and why that matters to you
Some parameters cannot be controlled in real time. They are checked on a sample basis at the end of the line, and the factory uses those results to adjust upstream setpoints for the next run. This is not the same as closed-loop control. A closed-loop system corrects within seconds. An end-of-line check corrects within hours or the next shift. The distinction matters when you are buying a bottle for a critical application.
Here is a station-by-station map of what is closed-loop versus end-of-line checked for a typical glass reagent bottle line:
| Station | Closed-loop parameter | End-of-line check | Typical limit |
|---|---|---|---|
| Feeder and gob | Gob weight, gob temperature | None | ±1 g, ±5°C |
| IS machine forming | Blank mold temperature, blow pressure | Wall thickness, ovality | ±0.1 mm, 0.08 mm ovality |
| Neck ring | None (tooling wear) | E dimension, T dimension | ±0.3 mm, ±0.4 mm |
| Lehr annealing | Zone temperature, belt speed | Polariscope stress | No continuous stress band |
| Surface treatment | Gas flow, concentration | Haze, adhesion, barrier | 0.5% haze, 0.5% weight loss |
| Final inspection | None | Capacity, thread fit, visual defects | ±2% capacity, plug gauge pass |
For plastic bottles, the table shifts. Injection pressure and melt temperature are closed-loop. Wall thickness is end-of-line. Drop test is end-of-line. The factory controls what it can measure fast. The rest is sampling.
Two field cases that trace back to a single line control point
Case one: a pharmaceutical lab ordered 10,000 glass reagent bottles with GL45 caps. The bottles passed incoming inspection for dimensions and visual defects. Within three months, the lab reported caps backing off during storage. The bottles were stored at 4°C in a cold room. The caps had been torqued to 2.0 N·m at ambient temperature. At 4°C, the polypropylene cap shrank more than the glass finish, reducing the interference fit. The root cause was not the cap. It was the E dimension on the bottle finish, which was at the upper limit of 42.7 mm. At that dimension, the cap had less thread engagement to begin with. The fix was tightening the incoming specification to 42.4 to 42.6 mm and torquing caps at the storage temperature, not at ambient. The factory changed the neck ring replacement interval from 120,000 to 80,000 cycles.
Case two: an environmental lab running U.S. EPA SW-846 test methods found that 40 mL VOA vials were losing methanol preservative during storage. The vials were made from Type I borosilicate with a PTFE-lined cap. The leak was traced to the finish, not the cap liner. The T dimension was 0.3 mm under the lower limit, which allowed the cap to bottom out on the vial lip before the liner compressed. The lab measured the T dimension with a ring gauge and found 6 out of 50 vials below 44.7 mm. The factory had been using a worn neck ring that produced a smaller T dimension. The fix was replacing the neck ring and adding a ring gauge check every 500 bottles instead of every 2,000.
What a competent factory should show you when you ask about line control
If you want to know how reagent bottle is manufactured and what the factory controls, do not accept a brochure. Ask for three things. First, the machine log for the gob weight or injection pressure from the last three runs. The log should show setpoint, actual, and correction. If the actual value oscillates more than 1% from setpoint, the loop is not tuned. Second, the neck ring replacement schedule with the cycle count. If the factory cannot tell you the cycle count at which the E dimension drifts, they are running tooling until it fails. Third, the polariscope or drop test records for the last lot. These are end-of-line checks, but they should be plotted on a control chart. A factory that does not chart end-of-line data is not learning from it.
For buyers who also purchase reagent bottle supplies for chromatography workflows, the same line control logic applies to HPLC autosampler vials. The finish on a 9 mm screw vial is smaller, but the E dimension tolerance is proportionally tighter, and the same neck ring wear mechanism applies. A sample vial with a worn finish will leak or cross-thread in the autosampler, and the failure shows up as a retention time shift, not a visible leak. The same goes for chromatography products where the vial septum and cap interaction is a finish geometry problem.
External references that matter here: Agilent publishes cap and vial compatibility guides that assume a specific finish tolerance. Thermo Fisher documents the same for their sample handling lines. Restek has technical notes on vial finish dimensions and liner compression that are worth reading if you are specifying a cap torque value.
The decision rule for buying a bottle that will not drift on you
Buy from a factory that can name the closed-loop parameters on its forming line and show you the end-of-line charts that prove the loops are working. The specific numbers to hold them to: gob weight within ±1 g for glass, melt temperature within ±5°C for plastic, E dimension within ±0.3 mm for GL45, polariscope with no continuous stress band, and drop test pass at -20°C for HDPE. If a factory cannot produce those records, you are buying a bottle that was sorted, not controlled. And sorting catches failures after they happen. Control prevents them. The difference is the entire point.
References & further reading
Related resources from our lab consumables network:
- Reagent Bottle at reagentbottleforsale.com
- Hplc Autosampler Vial at hplcautosamplervials.com
- Sample Vial at samplevialprice.com
- Chromatography Products at chromatographyselling.com
External references and standards: