

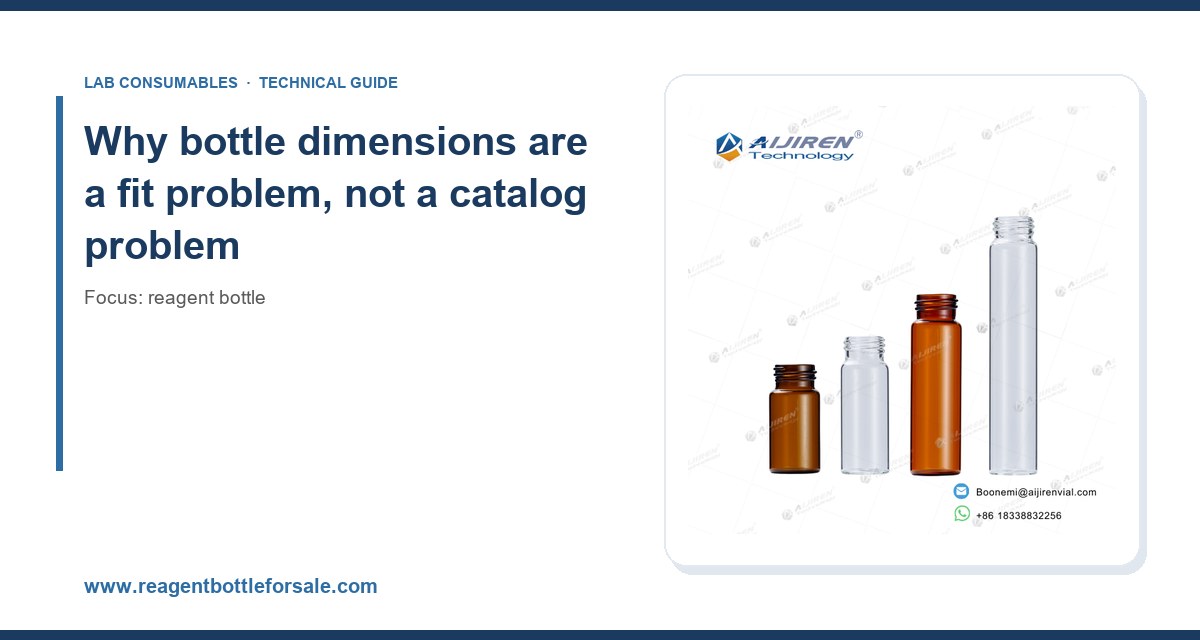
I once watched a lab spend three weeks chasing a “carryover problem” in an HPLC sequence before someone noticed the autosampler needle was bottoming out against the shoulder of a tall narrow-mouth bottle, deforming the septum and drawing air on every tenth injection. The method was fine. The vial was fine. The bottle was 4 mm too tall for the drawer. That is the kind of failure this guide is about: not chemistry, not material compatibility, but the plain geometric and mechanical fit between the bottle you buy and the machine that has to drink from it.
Matching reagent bottle dimensions to an autosampler or an inlet is a measurement job before it is a purchasing job. Get the numbers right and the rest is commodity sourcing. Get them wrong and you will spend money on septa, needles, and lost run time instead of on glass.
Most reagent bottles sold to analytical labs are described by nominal capacity: 100 mL, 250 mL, 500 mL, 1 L. Capacity tells you almost nothing about whether the bottle will work in your instrument. What matters is the stack of dimensions from the base of the bottle up to the top of the cap, plus the thread standard, plus the septum geometry, plus how the autosampler grips and pierces it.
I have three numbers taped to the wall above my bench that I check before any bottle order goes out: capped height, body diameter, and thread finish. If you can only remember three things, remember those. Everything else is secondary.
The four dimensions that decide fit
- Capped height (mm). Measured from the base to the top of the closed cap. This is what has to clear the autosampler drawer, the inlet cover, or the sample tray ceiling.
- Body diameter (mm). Measured at the widest point of the glass, not the cap. This governs tray well spacing and whether the gripper can close around it.
- Neck outer diameter and thread finish (GPI/GL). The cap thread must match the bottle thread. GL45 is the workhorse for 100 mL to 2 L lab bottles; GL32 and GL25 show up on smaller formats.
- Septum seat depth and cap skirt height. This determines how far the needle travels before it pierces and how much unsupported septum is exposed to the needle.
If you are buying a bottle to feed an autosampler from a tray, the capped height is the number that kills orders. A GL45 500 mL bottle with a closed cap typically runs 175 to 185 mm tall, which is fine on a bench but will not fit under the cover of most autosamplers. That is why labs use short-form 100 mL and 250 mL bottles (often 105 to 130 mm capped) on the tray, or move to a remote bottle feeder with tubing.
Why the vial and the bottle are not interchangeable
It is worth saying plainly: an autosampler vial and a reagent bottle solve different problems. The vial is the thing the needle pierces at the injection point. The bottle is the reservoir that feeds the vial, the wash station, or the mobile phase line. Confusing the two is the single most common sourcing error I see in labs that are scaling up. If you are sorting out the injection end of the workflow, the HPLC autosampler vial reference is the right place to start. This article is about the reservoir end.
Autosampler tray geometry: measure before you buy
Every autosampler has a defined sample compartment. The dimensions are published, but the published dimensions describe the nominal compartment, not the usable envelope once a tray, a stack of vials, and a needle guide are installed. I always measure the actual clearance with a steel rule on the installed instrument, not from the data sheet.
Common autosampler envelopes and what fits
These are working numbers I have verified on installed instruments. Your specific configuration may differ by a few millimeters, so confirm against the manufacturer’s documentation (Agilent publishes compartment dimensions for its LC and GC autosamplers at Agilent’s chromatography consumables pages, and Thermo Fisher documents its sample handling envelopes at Thermo Fisher chromatography and sample handling).
- Standard 2 mL vial trays (Agilent 1260, Thermo Vanquish, Waters Alliance): usable vertical clearance is typically 35 to 45 mm above the tray floor. A 2 mL vial is 32 mm tall, so there is almost no headroom. A reagent bottle does not go here. This is where the vial lives.
- Drawer-style autosamplers with a bottle position: clearance is usually 90 to 140 mm. Short-form 100 mL GL45 bottles (capped height 105 to 115 mm) fit. 250 mL bottles usually do not.
- Remote bottle feeders with tubing: the bottle sits outside the instrument, so height is limited only by shelf clearance. Tubing length and dead volume become the constraint instead.
The gripper problem
Robotic grippers on tray-based autosamplers are sized for vials, not bottles. A gripper designed for a 12 mm vial body will not close on a 46 mm bottle body. If your workflow requires the instrument to move the bottle, you are limited to vial-scale containers. In practice, this means the bottle feeds the vial through a transfer step, and the bottle stays put on a shelf or in a drawer.
This is why I recommend keeping the bottle and the vial physically separate in your thinking. The bottle is a reservoir. The vial is the injection vessel. The sample vial selection guide covers the injection side; this article covers the reservoir side and how it connects.
Inlet fit: GC inlets and HPLC injection valves
The inlet end has different constraints. A GC split/splitless inlet does not accept a bottle at all; it accepts a vial or a headspace vial through a septum. An HPLC injection valve accepts the sample loop, which is filled from a vial or from a bottle via tubing. So “matching bottle dimensions to the inlet” really means matching the bottle to the transfer path that reaches the inlet.
GC inlet: headspace and the septa that matter
For GC headspace, the bottle is the headspace vial, typically 20 mL with a 22.5 mm crimp or 18 mm screw finish. The dimensions that matter are the crimp or screw finish and the septum thickness. A 20 mm crimp cap with a 3 mm thick PTFE/silicone septum is standard for headspace. The septum must be thick enough to hold pressure at 80 to 120 °C without extruding, and thin enough that the needle pierces cleanly. I have seen 1.5 mm septa extrude at 100 °C and 3 mm septa fail to pierce cleanly on a blunt needle. Match the septum to the needle and the temperature, not to the catalog photo.
HPLC inlet: transfer tubing and dead volume
For HPLC, the bottle feeds the sample loop through tubing, usually 1/16 in OD PTFE or PEEK with an ID of 0.010 to 0.030 in. The bottle dimension that matters here is the neck ID and the cap port. A GL45 cap with a 1/8 in OD port accepts standard tubing fittings; a GL45 cap with a 1/16 in port needs a ferrule and a nut. The wrong port size is a common ordering error. Check the port diameter before you order the cap.
Dead volume in the transfer line is the hidden cost. A 1 m length of 0.030 in ID tubing holds about 0.45 mL; the same length in 0.010 in ID holds about 0.05 mL. If your bottle is remote and your loop is 20 µL, a 0.45 mL transfer line will add a large flush volume and slow your cycle. Size the tubing to the loop, not to convenience.
A concrete comparison: three bottle formats against three use cases
Here is the decision table I actually use. The numbers are representative; verify against the specific product before ordering.
- Short-form 100 mL GL45, capped height ~110 mm, body ~56 mm. Fits drawer-style autosamplers with 90 to 140 mm clearance. Good for mobile phase and wash solutions where the bottle stays inside the instrument. Septum: silicone/PTFE, 3 mm. Puncture count: replace after 50 to 100 punctures for a 20 gauge needle.
- Standard 250 mL GL45, capped height ~145 mm, body ~70 mm. Fits bench and shelf, not most autosampler drawers. Good for reservoirs feeding remote lines. Septum: PTFE-faced silicone, 3 mm. Replace after 100 to 150 punctures.
- Standard 500 mL GL45, capped height ~180 mm, body ~86 mm. Bench and shelf only. Good for bulk mobile phase and waste. Septum: PTFE/silicone, 3 mm. Replace after 100 to 200 punctures depending on needle gauge.
If you are running a method development lab with a drawer-style autosampler, the short-form 100 mL is the default. If you are running a production QC lab with remote feeders, the 250 mL or 500 mL is the default and the transfer line is the thing you optimize. For a broader look at how these parts fit together, the chromatography products overview covers the full workflow.
Septa, caps, and the puncture budget
The septum is the part that fails first and the part most people under-specify. A septum has a finite puncture budget. Every injection puts a hole in it, and the hole does not close perfectly. After enough punctures, the septum leaks, the needle cores a plug of silicone into the sample, and your chromatogram grows a ghost peak at the retention time of whatever was in the previous sample.
Puncture counts by septum type and needle gauge
- PTFE-faced silicone, 3 mm, 22 gauge needle: 50 to 100 punctures before visible coring. Replace at 50 for trace analysis.
- PTFE-faced silicone, 3 mm, 20 gauge needle: 30 to 60 punctures. Larger needle, faster failure.
- Pure silicone, 3 mm: 20 to 40 punctures. Cheaper, fails faster, not for trace work.
- Pre-slit silicone/PTFE: 100 to 200 punctures, but the slit admits air and is not for headspace or oxygen-sensitive samples.
These are working numbers from my own logs, not manufacturer claims. Your needle gauge, injection volume, and sample matrix will move them. The point is to budget septum replacement as a consumable line item, not as an afterthought. A lab running 200 injections a day on a 50-puncture septum is changing septa four times a day whether it has a replacement schedule or not. The schedule just makes it visible.
Torque and cap sealing
Cap torque matters more than most people think. Under-torque and the cap backs off during a run; over-torque and you crack the neck or deform the septum. For GL45 caps with a PTFE-lined silicone septum, I use a hand-tight plus a quarter turn rule, which corresponds to roughly 1.5 to 2.5 N·m on a calibrated torque wrench for a 45 mm cap. For 20 mm crimp caps, the crimper setting matters more than torque; a proper crimp deforms the aluminum skirt to a consistent diameter and does not cut the septum.
If you are buying a torque wrench for caps, get one that reads down to 0.5 N·m. Most lab torque wrenches start at 2 N·m and are not sensitive enough for small caps.
Material and temperature ratings that affect fit
Temperature changes dimensions. A borosilicate glass bottle expands by about 3.3 × 10⁻⁶ per °C, which is negligible over a 100 °C swing. The cap and septum are the problem. A polypropylene cap expands more than the glass and can loosen; a silicone septum softens and extrudes. If your method runs the autosampler compartment at 4 to 10 °C, the cap contracts and can loosen. If your method runs headspace at 120 °C, the septum is the limiting part.
Working temperature ranges
- Borosilicate 3.3 glass bottle: -20 to 140 °C continuous, higher for short excursions. Autoclavable.
- Polypropylene GL45 cap: -10 to 120 °C. Above 120 °C it softens and the thread deforms.
- PTFE-faced silicone septum: -40 to 200 °C. The PTFE face is the temperature limit; the silicone backing is the mechanical limit.
- Pure silicone septum: -50 to 200 °C, but mechanical failure (extrusion, coring) starts well below the temperature limit.
For a headspace method at 120 °C, use a PTFE-faced septum and a crimp cap, not a screw cap. The crimp holds the septum against extrusion better than a screw thread. For a chilled autosampler at 4 °C, check cap torque after the first hour; thermal contraction loosens screw caps.
Operational precautions I have learned the hard way
These are the failure modes I have personally dealt with, in rough order of how often they bite.
- Needle bottoming out. The needle hits the bottle shoulder or the septum seat because the bottle is too tall for the needle stroke. Fix: measure the needle stroke and choose a bottle whose capped height leaves at least 10 mm of clearance above the septum.
- Septum coring. A blunt or burred needle cores the septum. Fix: inspect needles under a loupe every 500 injections; replace burred needles.
- Cap loosening during a run. Thermal cycling or vibration backs the cap off. Fix: torque to spec and re-check after the first hour.
- Wrong port size. A 1/16 in fitting will not seal in a 1/8 in port. Fix: measure the port ID with a pin gauge before ordering.
- Bottle too wide for the tray well. The gripper cannot close. Fix: measure the well spacing and the gripper opening; keep the body diameter at least 2 mm smaller than the well.
- Glass chips in the sample. A chipped neck from over-torquing sheds glass into the bottle. Fix: inspect necks at every cap change; discard chipped bottles.
Troubleshooting checklist
When a method starts misbehaving and you suspect the bottle, work through this list in order. It takes ten minutes and saves days.
- 1. Measure the capped height of the bottle in the instrument and compare to the compartment clearance. If the gap is under 10 mm, the bottle is too tall.
- 2. Check the septum puncture count against the budget for your needle gauge. If you are over budget, replace the septum.
- 3. Inspect the needle under a loupe for burrs and coring. Replace if burred.
- 4. Check cap torque with a torque wrench. If it is below 1.5 N·m on a GL45, re-torque.
- 5. Verify the port size against the tubing fitting. A mismatch shows up as a leak or a loose ferrule.
- 6. Measure the transfer line dead volume and compare to the loop size. If the line holds more than 10 times the loop, shorten it or reduce the ID.
- 7. Check the bottle body diameter against the tray well and gripper opening.
- 8. Look for glass chips at the neck and in the sample. A chipped neck is a discard, not a repair.
If all eight pass and the problem persists, the bottle is probably not the cause. Move on to the column and the mobile phase. For method-level troubleshooting, the U.S. EPA SW-846 test methods are a useful reference for sample handling and preservation requirements, and Restek’s technical resources cover septum and inlet troubleshooting in detail.
Recommendation: the numbers to put on your order
For a drawer-style autosampler with 90 to 140 mm clearance, order short-form 100 mL borosilicate 3.3 GL45 bottles, capped height 105 to 115 mm, body diameter 56 mm, with PTFE-faced silicone 3 mm septa and polypropylene caps torqued to 1.5 to 2.5 N·m. Replace septa every 50 punctures for 22 gauge needles and every 30 punctures for 20 gauge. Keep the transfer line at 1/16 in OD, 0.010 to 0.020 in ID and no longer than needed.
For a remote feeder, order 250 mL or 500 mL GL45 bottles with the same septum spec and a cap port sized to your tubing (1/8 in OD for standard fittings, 1/16 in for small-bore). Put the bottle on a shelf above the instrument so gravity assists the feed, and check cap torque after the first hour of a chilled run.
For GC headspace, order 20 mL headspace vials with 20 mm crimp caps and 3 mm PTFE-faced silicone septa, and crimp to a consistent skirt diameter. Do not substitute screw caps at 120 °C.
The reagent bottle you buy is a mechanical part as much as a chemical container. Measure the envelope, match the thread and septum, budget the punctures, and the chemistry takes care of itself.
Takeaway: the bottle that fits is the one whose capped height clears the compartment by at least 10 mm, whose thread finish matches the cap and port, and whose septum is rated for the temperature and puncture count of your method. Everything else is a commodity decision. Get those three right and you will stop chasing carryover that was never a chemistry problem.
References & further reading
Related resources from our lab consumables network:
- Reagent Bottle at reagentbottleforsale.com
- Hplc Autosampler Vial at hplcautosamplervials.com
- Sample Vial at samplevialprice.com
- Chromatography Products at chromatographyselling.com
External references and standards: