

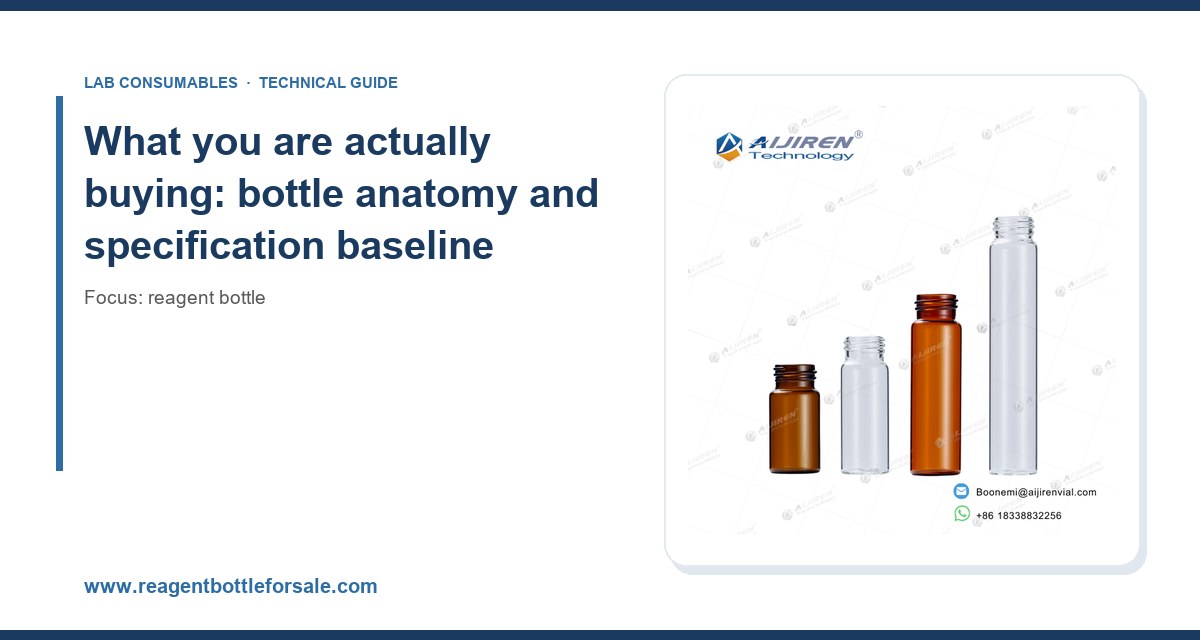
I still remember the first container load of 500 mL borosilicate reagent bottles we imported without a pre-shipment dimensional check. The caps threaded on fine in the warehouse, but at the customer’s site, 40% of them leaked during autoclaving at 121°C. The root cause was a 0.6 mm deviation in the GPI 24-400 neck finish and a cap liner that softened above 110°C. That mistake cost us $8,400 in replacements and a lot of goodwill. Since then, I treat reagent bottle procurement as an engineering exercise, not a purchasing formality. This article covers what I have learned about pricing structures, MOQ realities, and supplier evaluation, with the specific numbers you need to make a defensible buying decision.
A reagent bottle is not a commodity jug. It is a precision-molded vessel with a defined neck finish, a defined thermal history, and a closure system that must maintain a seal across temperature cycles and chemical exposure. Before you talk price, you need to fix the specification. Otherwise every supplier quotes a different product and the comparison is meaningless.
Material grades and what they cost
Most laboratory reagent bottles fall into three material families. Type I borosilicate glass (often called borosilicate 3.3, with a coefficient of linear expansion around 3.3 × 10⁻⁶ /K) is the default for analytical work, media preparation, and anything that sees repeated autoclaving. Type III soda-lime glass is cheaper, roughly 30 to 45% lower unit cost at the 500 mL size, but it leaches alkali into aqueous contents over time and is not suitable for trace-metal or pH-sensitive work. High-density polyethylene (HDPE) and polypropylene (PP) cover the plastic side: HDPE is good for acids and bases at ambient temperature but is not autoclavable, while PP handles steam sterilization at 121°C and is the better choice for repeated cycle use.
I specify borosilicate 3.3 for anything that will hold a standard, a calibration solution, or a mobile phase. For rinse solvents and waste collection, soda-lime or PP is fine and saves real money. The price gap on a 1,000 mL bottle is typically $1.80 to $3.20 per unit between soda-lime and borosilicate, which matters at 10,000 units a year.
Neck finish, threads, and closure standards
This is where most procurement failures originate. The two dominant neck finish standards you will encounter are GPI 24-400 (a 24 mm thread diameter with a 400-style continuous thread) and GPI 24-410, plus the wider GPI 38-430 and GPI 45-400 used on larger bottles. The “400” and “410” refer to thread style and liner compatibility, and they are not interchangeable in practice. A 24-400 cap will start on a 24-410 neck but will not seat with the same compression, and you get leaks under vacuum or in the autoclave.
Ask every supplier for the neck finish drawing with tolerances. A compliant GPI 24-400 neck should hold the thread diameter within roughly ±0.25 mm and the neck height within ±0.5 mm. If a supplier cannot produce a dimensioned drawing, treat that as a disqualifier. I also ask for the cap liner material: PTFE-faced silicone is my default for solvent and acid service because the PTFE face is inert and the silicone backing gives the compression set needed for a repeatable seal. Plain LDPE liners are cheaper but swell in many organic solvents.
Graduations, markings, and accuracy
Graduated reagent bottles carry a tolerance class. For a 1,000 mL bottle, a Class A graduation is typically ±5 mL, while a general-purpose molded graduation may be ±10 mL or worse. If the bottle is used to estimate a volume for a mobile phase or a rinse, general-purpose is acceptable. If it is used to prepare a standard, buy a graduated cylinder instead and use the bottle only for storage. Do not let a supplier upsell you on “Class A” bottles that are really just printed with tighter-looking lines.
Pricing structure: what drives the number on the quote
Unit price is a function of five variables: material, size, closure, packaging, and order quantity. Understanding how each moves the price lets you negotiate intelligently instead of just demanding a discount.
Material and size effects
As a rough planning baseline for borosilicate 3.3 bottles with PTFE-lined PP caps, FOB pricing in 2024-2025 runs approximately:
- 100 mL: $0.55 to $0.95 per unit at 5,000+ units
- 250 mL: $0.85 to $1.40 per unit
- 500 mL: $1.20 to $1.95 per unit
- 1,000 mL: $1.80 to $2.90 per unit
- 2,000 mL: $3.50 to $5.80 per unit
These are indicative ranges. The spread reflects glass quality (visible bubbles, wall thickness uniformity), cap quality, and whether the bottle is printed or unprinted. Soda-lime versions typically come in 30 to 45% below the borosilicate figures. HDPE and PP bottles sit in a similar range to soda-lime, with PP at the upper end because of the higher processing temperature.
The hidden cost lines
I have seen quotes where the bottle looked cheap but the total landed cost was 40% higher than a competitor’s. The usual culprits:
- Cap and liner priced separately: some suppliers quote the bottle only. Confirm whether the cap is included and whether the liner is PTFE-faced or plain.
- Carton and pallet configuration: a 500 mL bottle packed 24 per carton versus 48 per carton changes freight and handling cost. Ask for carton dimensions and units per pallet.
- Printing and labeling: ceramic printing or applied labels add $0.08 to $0.35 per unit depending on colors and coverage.
- Certificates: a certificate of analysis with actual dimensional and extractable data is not free. Expect $50 to $150 per lot for a proper CoA with test data.
- Incoterms: FOB versus DDP changes who pays freight, insurance, and duty. A DDP quote that looks 15% higher may actually be cheaper than an FOB quote plus your own freight forwarder.
When you compare quotes, normalize everything to a landed cost per usable unit, including the cap, liner, packaging, and freight. I keep a simple spreadsheet with columns for FOB unit price, cap included (Y/N), liner type, units per carton, carton cube, and estimated freight per unit. That single table has saved me more money than any negotiation tactic.
Volume tiers and how to read them
Most factories price in tiers: 1,000 to 4,999 units, 5,000 to 19,999, 20,000 to 49,999, and 50,000+. The price drop between the first and second tier is often 12 to 20%, and between the second and third another 8 to 12%. Beyond 50,000 units the curve flattens. If your annual volume sits just below a tier boundary, it can be worth consolidating a year’s demand into one order to hit the better tier, provided you have the storage and the shelf life is not an issue (glass has essentially unlimited shelf life; plastic caps and liners should be used within about 5 years).
MOQ: the real constraints and how to negotiate them
Minimum order quantity is where small and mid-size labs get squeezed. A factory that runs a 24-cavity mold does not want to set up for 200 bottles, and the setup cost (mold change, first-article inspection, packaging line changeover) is real. Typical MOQs for standard reagent bottles are 1,000 to 5,000 units per size and per color/print configuration. Custom printing or custom molds push MOQ to 10,000 to 20,000 units.
Strategies that actually work
- Buy standard sizes in mixed pallets: many suppliers will let you combine 250 mL, 500 mL, and 1,000 mL into one order to reach the MOQ, as long as each size meets a smaller line minimum (often 500 units).
- Use a distributor for small volumes: if you need 200 bottles, a distributor that stocks locally will beat a factory MOQ every time, even at a higher unit price. The reagent bottle catalog at reagentbottleforsale.com is structured for exactly this kind of mixed, smaller-volume ordering.
- Negotiate a stock-holding agreement: commit to an annual volume with quarterly releases. The factory holds inventory and you draw down. This gets you tier pricing without taking all the stock at once.
- Accept standard caps: custom cap colors or custom liner die-cuts are the most common MOQ driver. Standard black or white PP caps with PTFE-lined silicone septa are usually in stock.
When MOQ is a red flag
An unusually low MOQ (say 100 units for a custom-printed bottle) usually means the supplier is brokering from another factory and has no control over quality. I would rather pay a distributor’s markup for 300 bottles than gamble on a broker who cannot tell me the mold number or the glass batch.
How to evaluate a supplier: a scored checklist
I score suppliers on six dimensions and require a minimum total before placing a first order. The weights reflect what has actually caused problems for me: quality and documentation first, price last.
Supplier evaluation scorecard
- Quality system (25 points): ISO 9001 certification is the baseline. Ask for the certificate number and verify it. For glass, ask about the annealing process and whether they do 100% visual inspection or AQL sampling. A supplier doing AQL 1.0 at a 2.5% acceptance level is reasonable; one doing no inspection is not.
- Dimensional capability (20 points): request a first-article inspection report (FAIR) with neck finish, body diameter, height, and wall thickness measured on at least 10 pieces. Compare against the drawing tolerances. I reject any supplier whose FAIR shows neck diameter outside ±0.25 mm on a GPI 24-400.
- Documentation (15 points): CoA per lot with actual test data, material certificates (borosilicate 3.3 declaration), and extractables data for regulated work. For pharmaceutical or EPA-method work, ask for USP <661> compliance or the relevant extractables profile.
- Capacity and lead time (15 points): quoted lead time, on-time delivery history, and whether they can scale. Ask for two references at your volume and call them.
- Pricing transparency (15 points): itemized quote showing bottle, cap, liner, packaging, and Incoterm. A single lump-sum number is a warning sign.
- Communication and responsiveness (10 points): how fast they answer a technical question. If a supplier cannot answer a neck-finish question within two business days, they will not handle a quality claim well either.
A supplier scoring below 70 out of 100 does not get a first order, no matter how attractive the price. In my experience, the cheapest quote is almost always the one that generates the most rework.
Sample and pre-shipment testing protocol
Never approve a supplier on a catalog photo. Order a sample lot of at least 50 units and run this protocol:
- Dimensional check: measure neck OD, thread pitch, and height on 10 random bottles with calipers. Record the RSD; anything above 1.5% on neck OD suggests poor mold control.
- Closure torque test: apply the cap to a defined torque (for a 24-400 PP cap, typically 1.1 to 1.7 N·m) and check for liner compression. Re-torque after one autoclave cycle at 121°C for 15 minutes and confirm the cap has not backed off.
- Leak test: fill with water, cap, invert, and hold for 24 hours. Then repeat after autoclaving. Any weeping at the thread is a fail.
- Thermal shock: for borosilicate, heat to 121°C and plunge into room-temperature water. Type I glass should survive; soda-lime often does not.
- Chemical compatibility spot check: fill with your actual solvent or reagent, cap, and store for 7 days at 40°C. Check for liner swelling, discoloration, or glass etching.
I also send a sample set to the lab for a real-use trial before scaling. A bottle that passes dimensional checks can still fail in a specific application, and the lab will find that faster than any incoming inspection.
Operational precautions and failure modes I have dealt with
Even a good bottle fails if it is used wrong. These are the failure modes I see most often, with the fix.
Autoclave and pressure failures
Caps must be loosened before autoclaving, then tightened after cooling. A fully torqued cap on a bottle going through a 121°C cycle can deform the liner or crack the neck as pressure equalizes. I have seen 500 mL bottles crack at the shoulder because the cap was tight and the bottle cooled too fast. The fix is procedural: loosen a quarter turn before the cycle, tighten after the bottle reaches room temperature, and never cool a hot bottle under running water.
Liner and solvent incompatibility
Plain LDPE liners are fine for water and dilute salts but swell in toluene, dichloromethane, and many ketones. The swollen liner can extrude into the neck and jam the cap, or worse, contaminate the contents. For solvent service, specify PTFE-faced silicone. For trace analysis work where extractables matter, use a PTFE-lined cap and run a blank.
Neck finish mismatch
This is the silent killer. A 24-410 cap on a 24-400 bottle will thread on but will not seal reliably. If you buy bottles and caps from different suppliers, verify the GPI code on both. I now standardize on GPI 24-400 across our 100 to 1,000 mL range so caps are interchangeable, and I keep a go/no-go gauge on the receiving dock.
Where reagent bottles fit in the wider consumables supply chain
Reagent bottles rarely travel alone. A typical analytical lab order includes HPLC autosampler vials for the instrument side, sample vials for collection and storage, and the bottles for mobile phase and standards. Buying these from one supplier with consistent quality documentation reduces the number of incoming inspections and the number of quality systems you have to audit. The broader chromatography products range at chromatographyselling.com is organized this way, and consolidating a quarterly order across bottles, vials, and caps usually beats splitting the order across three suppliers on landed cost.
For method-specific requirements, the authoritative references are worth bookmarking. The U.S. EPA SW-846 test methods specify container and preservation requirements for waste and materials testing, including bottle type and headspace. Instrument vendors publish compatibility guidance too: Agilent’s chromatography consumables documentation and Thermo Fisher’s chromatography and sample handling pages both cover vial and bottle selection for their platforms. Restek’s technical resources are strong on liner and septum selection for GC work. When a supplier’s claim conflicts with these sources, trust the standard.
Troubleshooting checklist for incoming and in-service failures
When a bottle fails, work through this list before you blame the supplier. In my experience, roughly half of “supplier quality” complaints turn out to be a usage or compatibility issue.
- Leak at the cap: check GPI code match between bottle and cap. Check liner type against the solvent. Check torque (1.1 to 1.7 N·m for 24-400). Check for liner extrusion or a damaged thread.
- Crack at the neck or shoulder: check autoclave procedure (cap loosened?), cooling rate, and whether the bottle was dropped or thermally shocked. Look for a manufacturing defect (visible bubbles, uneven wall) with a magnifier.
- Contamination or extractables: run a solvent blank with the same cap and liner. If the blank shows peaks, switch to PTFE-lined caps and pre-rinse. Confirm the bottle was not previously used for a different reagent.
- Graduation accuracy complaints: verify the tolerance class on the drawing. If the lab needs ±5 mL on 1,000 mL, they need a Class A graduated bottle or a cylinder, not a general-purpose bottle.
- Cap won’t seat or cross-threads: measure neck OD and thread pitch. Check for mold flash on the thread. A 0.3 mm flash ridge is enough to cause cross-threading on a 24 mm neck.
Recommendation: a concrete buying specification
Here is the specification I would put in an RFQ today for a general analytical lab, based on what has held up in service:
- Material: borosilicate 3.3, Type I, for standards and mobile phase; soda-lime or PP for rinse and waste.
- Sizes: 100, 250, 500, and 1,000 mL, all on GPI 24-400 neck finish for cap interchangeability. 2,000 mL on GPI 38-430 where needed.
- Neck tolerance: thread OD ±0.25 mm, neck height ±0.5 mm, verified by FAIR on 10 pieces.
- Closure: PP cap, PTFE-faced silicone liner, torque 1.1 to 1.7 N·m, leak-tested after one 121°C autoclave cycle.
- Thermal: borosilicate rated for repeated autoclaving at 121°C; PP rated for 121°C steam; HDPE ambient only.
- Documentation: ISO 9001 certificate, CoA per lot with dimensional and visual data, material declaration for borosilicate 3.3.
- Packaging: 24 or 48 units per carton, pallet configuration stated, carton drop-tested.
- Commercial: itemized quote, MOQ stated per size, annual stock-holding option, DDP or FOB with freight normalized to landed cost per unit.
Run the sample protocol, score the supplier on the six-dimension checklist, and only then place a first production order. Expect to pay 10 to 20% more than the lowest quote for a supplier that scores above 80. That premium buys you fewer leaks, fewer rejected lots, and a documented quality trail when an auditor asks. The cheapest bottle is the one that does not fail in the autoclave.
Takeaway: fix your neck finish and liner specification before you talk price, normalize every quote to landed cost per usable unit, and treat MOQ as a signal about the supplier’s real capabilities. A reagent bottle is a small line item, but a bad lot can stop a lab for a week. Buy on the scorecard, not the price list.
References & further reading
Related resources from our lab consumables network:
- Reagent Bottle at reagentbottleforsale.com
- Hplc Autosampler Vial at hplcautosamplervials.com
- Sample Vial at samplevialprice.com
- Chromatography Products at chromatographyselling.com
External references and standards: